Pastel pencils
Colours can be be layered, blended, and developed just as they would in a traditional soft pastel painting.
The materials I recommend are highlighted in green
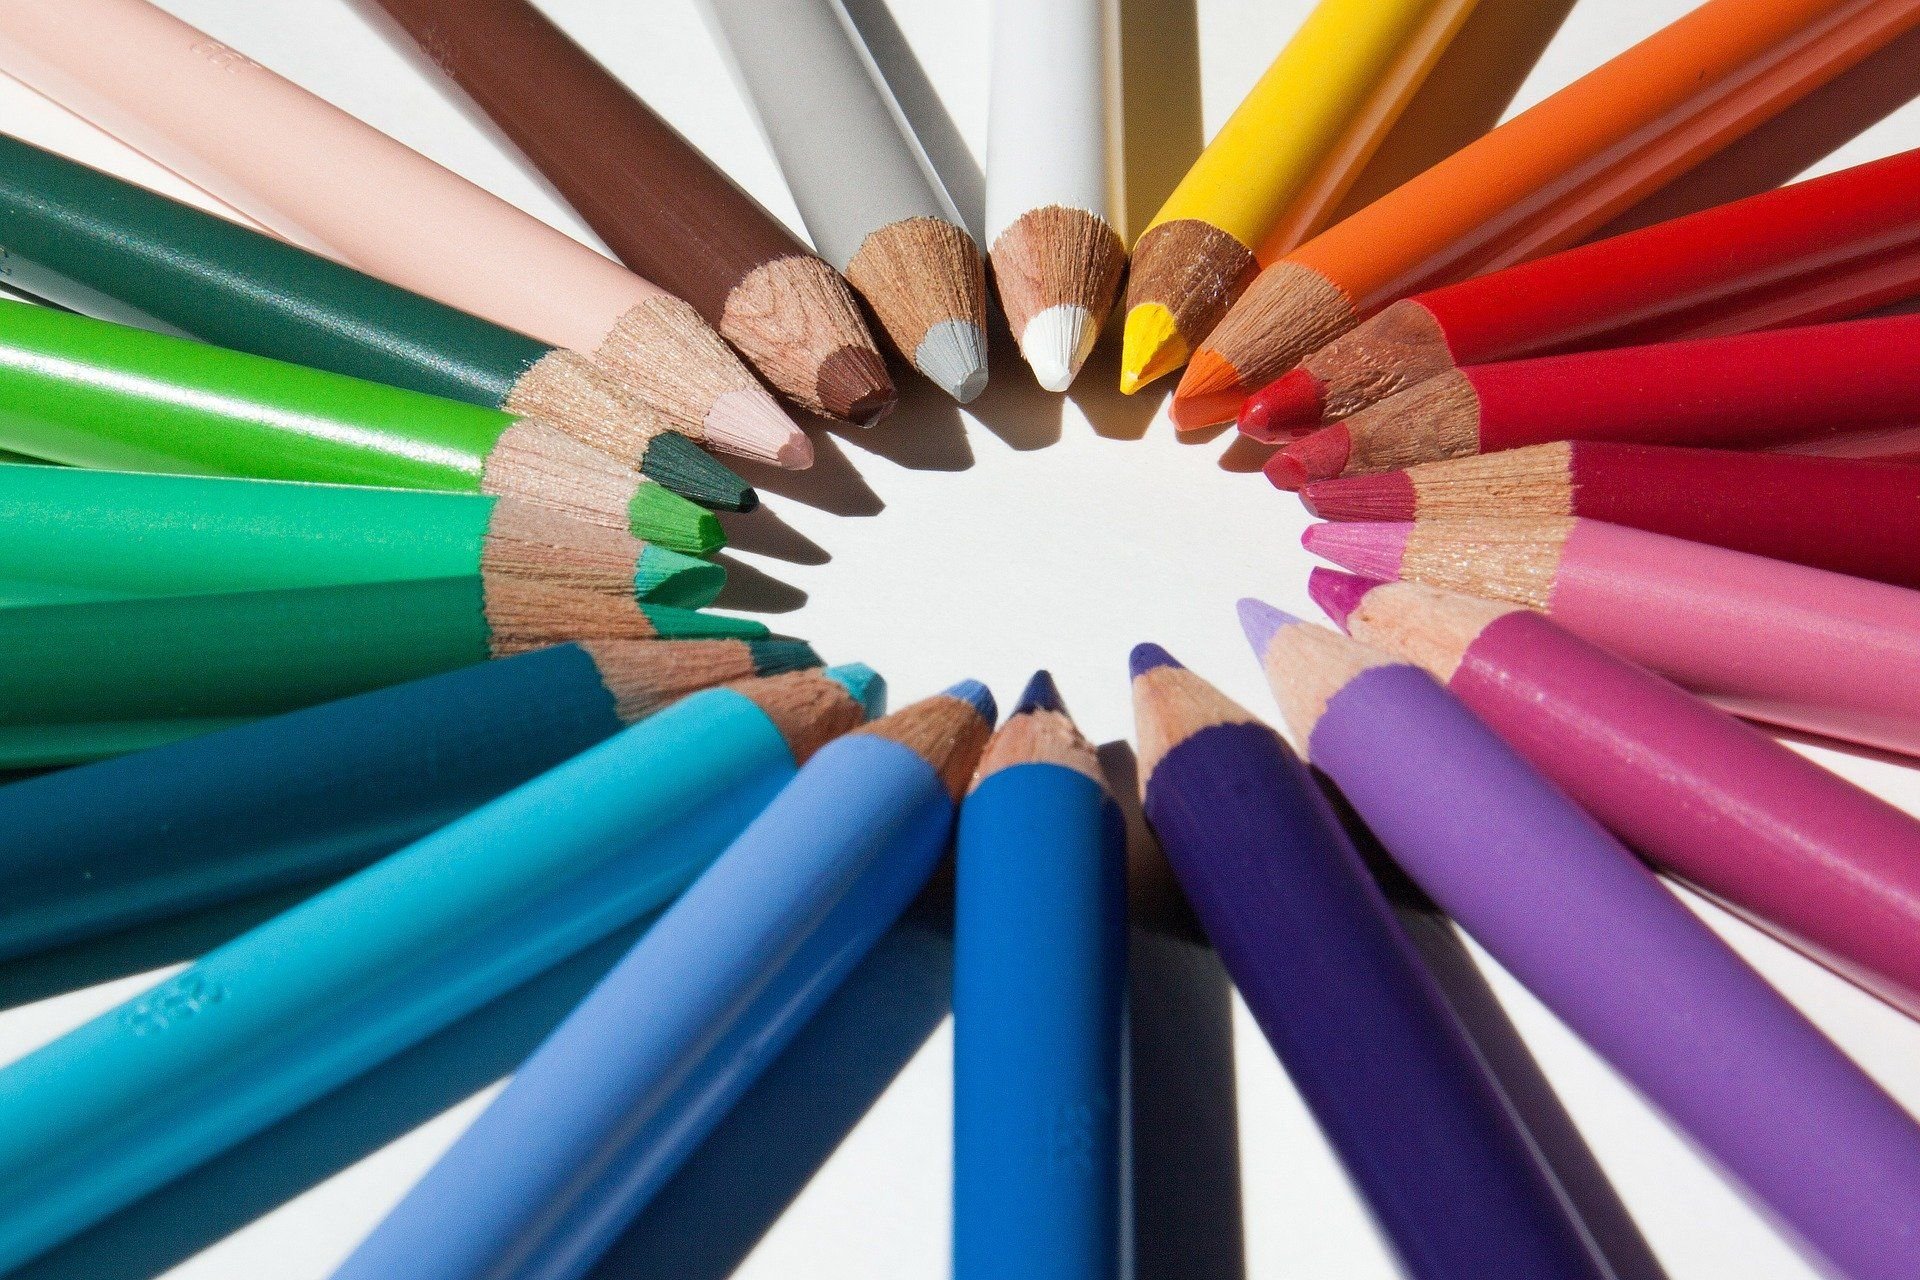
Pastel pencils contain the same materials as soft pastel sticks. The only difference is, they have more binder and are enclosed in a wood casing. Soft pastel sticks can vary from extremely soft and creamy to the very hard. Obviously the very soft pastel consistency would not work well as a pencil. It would be forever breaking up and crumbling at the least amount of pressure. Sharpening would be virtually impossible. Therefore, the variation in degrees of softness amongst pastel pencils is vastly reduced compared to pastel sticks. Pencils tend to be semi-hard or hard in texture. So, why do we use them? Well, firstly they are far cleaner to handle and give off much less dust than pastel sticks. Excellent for anyone prone to respiratory problems. They can produce very precise marks, something that only the hardest of the pastel sticks can achieve. They are easy to carry around and easy to store. Like any painting medium, the quality of the materials we use is paramount to good results. With the majority of art materials you really do get what you pay for. People often ask me about the difference between pastel pencils and coloured pencils. There is in fact a world of difference as you can see in the comparrison below
COLOURED PENCILS
Not easy to blend, hard edges, sem-transparent, every layer affects each subsequent layer, waxy or oily, build up of oil or wax can affect number of layers possible, can burnish, more suited to smaller works, will not smudge easily, not very vibrant, no dust, hard to erase, fine lines are easy, need to work light to dark
PASTEL PENCILS
Easy to blend, hard and soft edges, opaque, lower layers get covered up, dry, number of layers only affected by tooth of the paper, can’t burnish, more suited, to larger works particularly when combined with pastel sticks, smudges easily, very vibrant, dusty, easy to erase, fine lines are not so easy, can work light to dark or dark to light
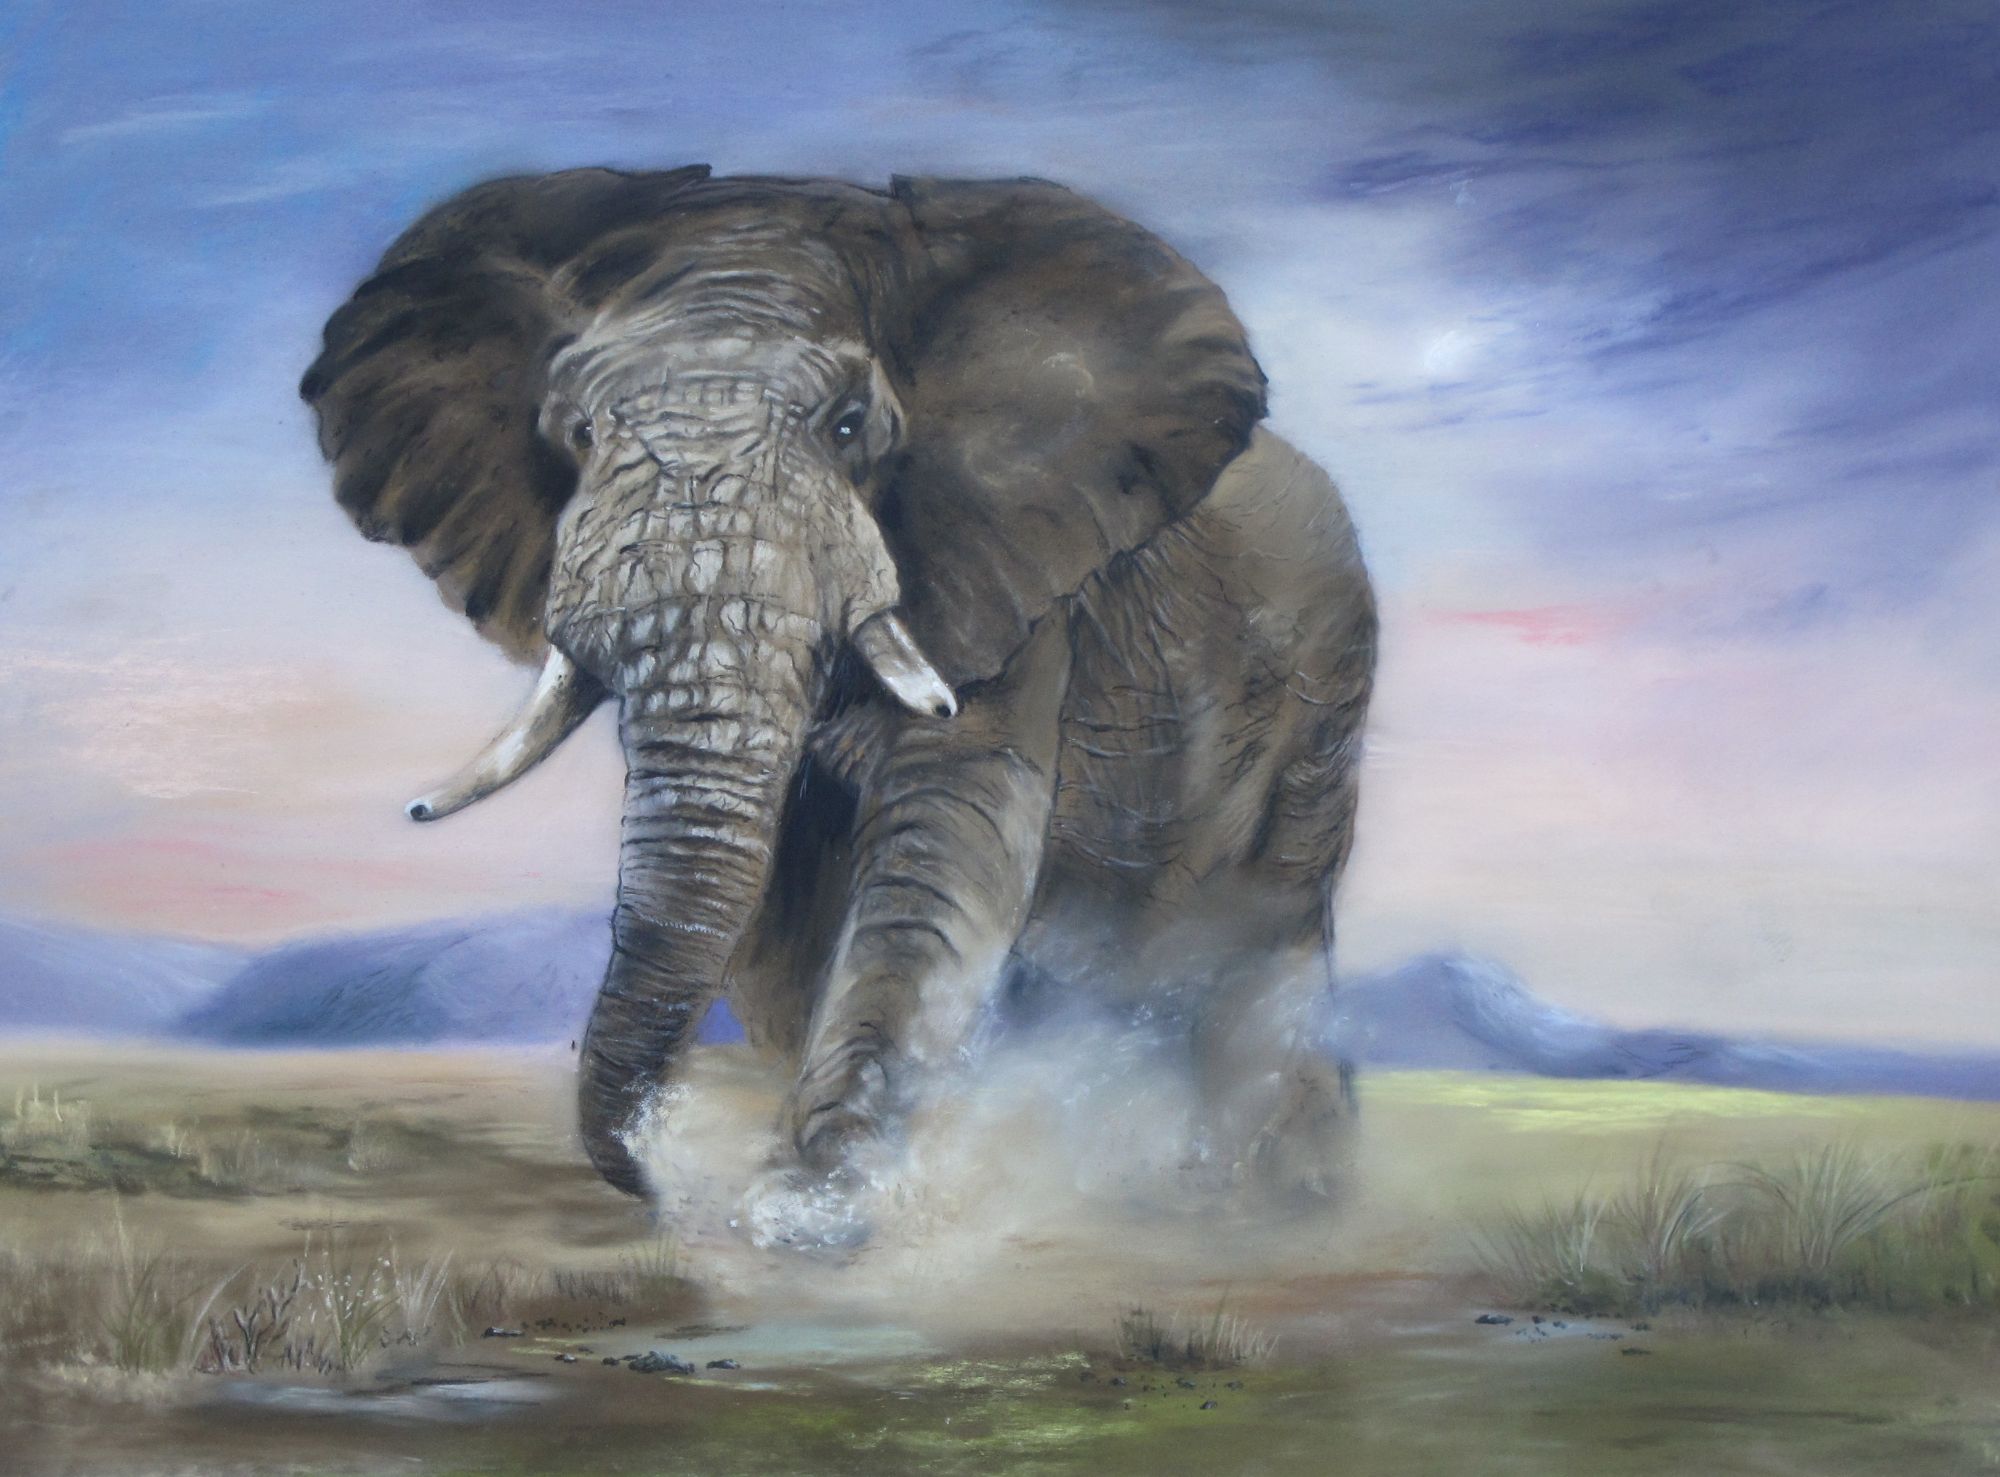
There is a belief that pastel pencils can only be used for small works. That is not true. The painting on the right was completed using only pastel pencils. The painting measures 14 inches by 10 inches. (35cm x 25cm. ) Pencils can easily depict both fine detail, as in the elephant's trunk and larger areas, such as the background.
It is, however, useful to combine pastel pencils with stick or pan pastels to cover large areas more quickly.
We need to consider the support (paper) that we will be using. Pastel will adhere to most matt surfaces that have a ‘’tooth’(texture). This texture can vary from fairly fine to very rough. Papers made especially for pastels and pastel pencils are made this way in order to give the pastel something to grip onto. Let’s therefore look at the different types. Like most things, the cheaper the product the poorer the results will be. One of the advantages of pastels and pastel pencils is, you can layer light over dark and also dark over light. Therefore, it seems logical that the more layers of pastel your paper will hold the more forgiving and easier it is to work on. Soft pastel pencils will fill up the tooth of the paper more quickly than hard ones. Therefore, to give yourself the best possible chance of a successful painting, choose a paper that will hold multiple layers of pastel. Yes, these papers tend to be more expensive but believe me, it’s worth it.
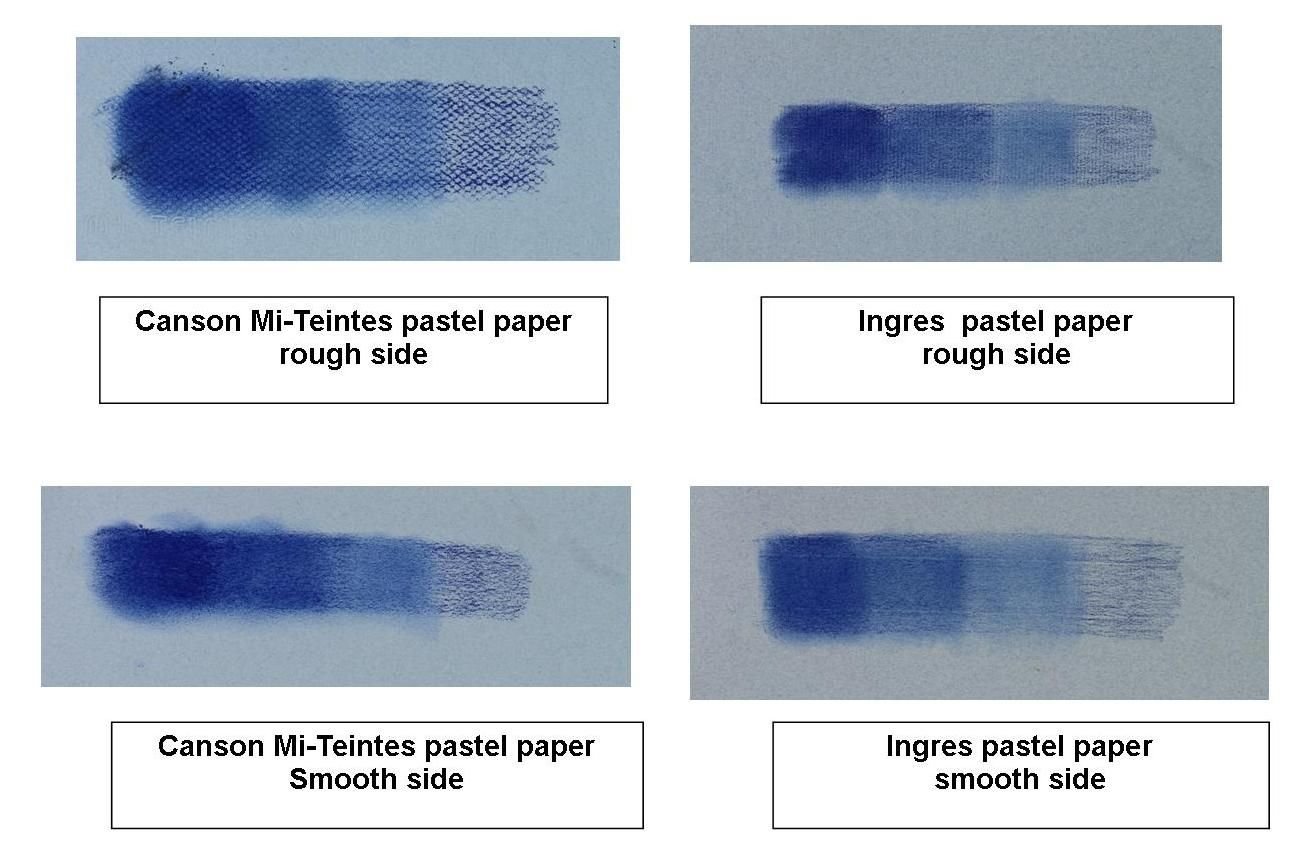
Let’s look in detail at some different types of pastel paper. The image on the left shows you Ingres pastel paper and Canson Mi-Teintes pastel paper. Ingres is a method of manufacture not a brand name. Several manufacturers produce Ingres paper. Canson Mi-Teintes is a pulp dyed paper. These two types of paper are quite thin and have either a linear or honeycomb pattern on one side. The reverse side of these papers is smooth as you can see in the image. They only hold small amounts of soft pastel, therefore these patterns will always show through your work. If you like this look, then that’s fine. You will know when the tooth of the paper is full because lots of dust appears on the surface and the pastel pencil will skid around and won’t leave a continuous mark.
So, what other types are there? We can now look at the papers that hold much more pastel, are more forgiving and give more life and texture to our work. Again, because there are so many to choose from, I will break things down into two groups.
First, the suede/velvet type pastel papers
Examples of these are Hahnemuhle Velour and the velvet/suede papers. These feel very much like material. They are excellent for depicting the softness of animal fur and I use them all the time for my animal portrait work. However, it is very difficult to blend on them. Erasing is also difficult. They take a lot of getting used to and really don’t work well with pastel pencils. Therefore for animal or portrait work with pastel sticks they are superb but I would not recommend them for pastel pencils.
The sanded/textured variety.
Some examples of these are , Uart 400, Senillier Card, Clairefontaine Pastelmat and many others. They can only be used on one side but they are a thicker and more robust paper. They all hold multiple layers of pastel but vary in their degree of texture from quite smooth to very rough. Obviously, the rougher papers will eat up your pencils more quickly but you can get wonderful textural effects. The paper from this group with the smoothest feel is Clairefontaine Pastelmat. This paper not only allows fine detail but can give surprisingly good textural effects. Pastelmat leaves less residual dust on the surface than other textured papers. Again, a good choice for people with respiratory problems. Of the rougher sanded papers, Canson Mi-Teintes ‘Touch’ is my preferred one for larger more expressive paintings.
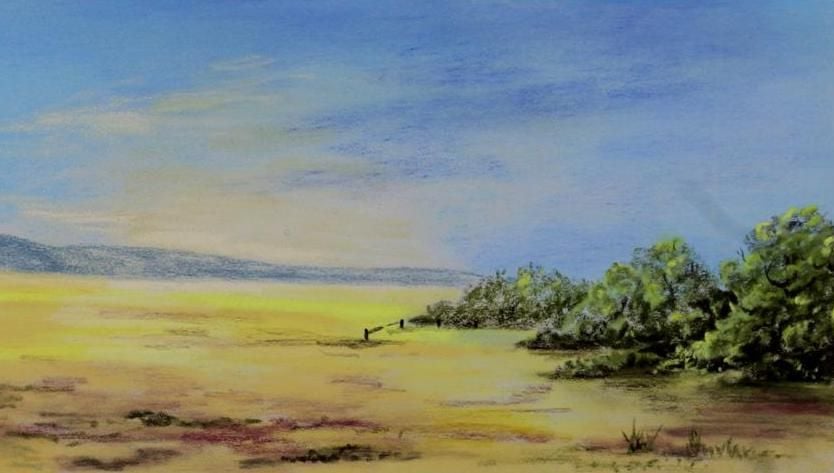
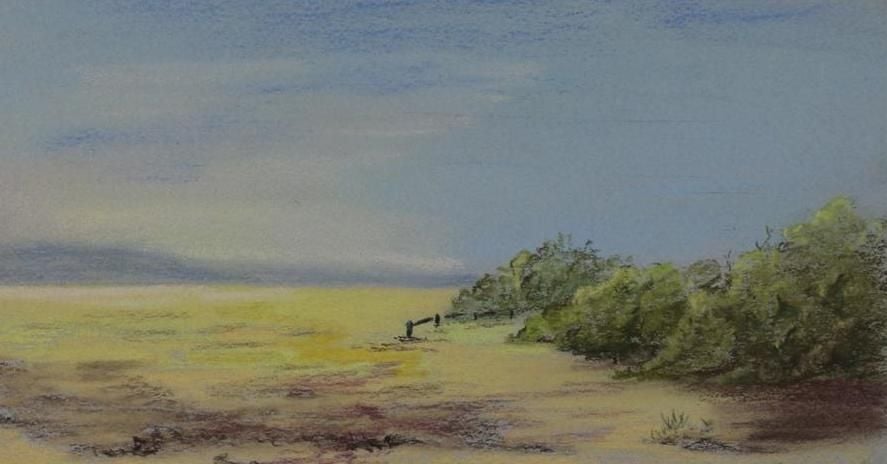
The painting on the far right was done on the less expensive thin paper. The painting on the left was done on Clairfontaine Pastelmat. I think you can see the difference! The thin paper only holds a few layers of pastel so more blending is necessary. The tooth of the paper fills up too quickly.
My preferred brands of pastel paper are Pastelmat and Uart 400. I use both these papers for pastel pencils, pastel sticks and also pan pastels. Both these brands will accept wet foundation layers of paint or ink - an excellent way of doing an under painting before adding your pastel details.
Let's now look at the versatility of the pastel pencils and the various marks and effects they can make. Decide on the paper you want to use and stick to it. If you keep changing papers you will get very confused when sometimes the pastel pencil won't do what you expect it to. I see this all the time with watercolour painters. They keep chopping and changing their paper depending on what's available and then wonder why they don't make good progress. Getting to know your materials and what they will do for you is so important.
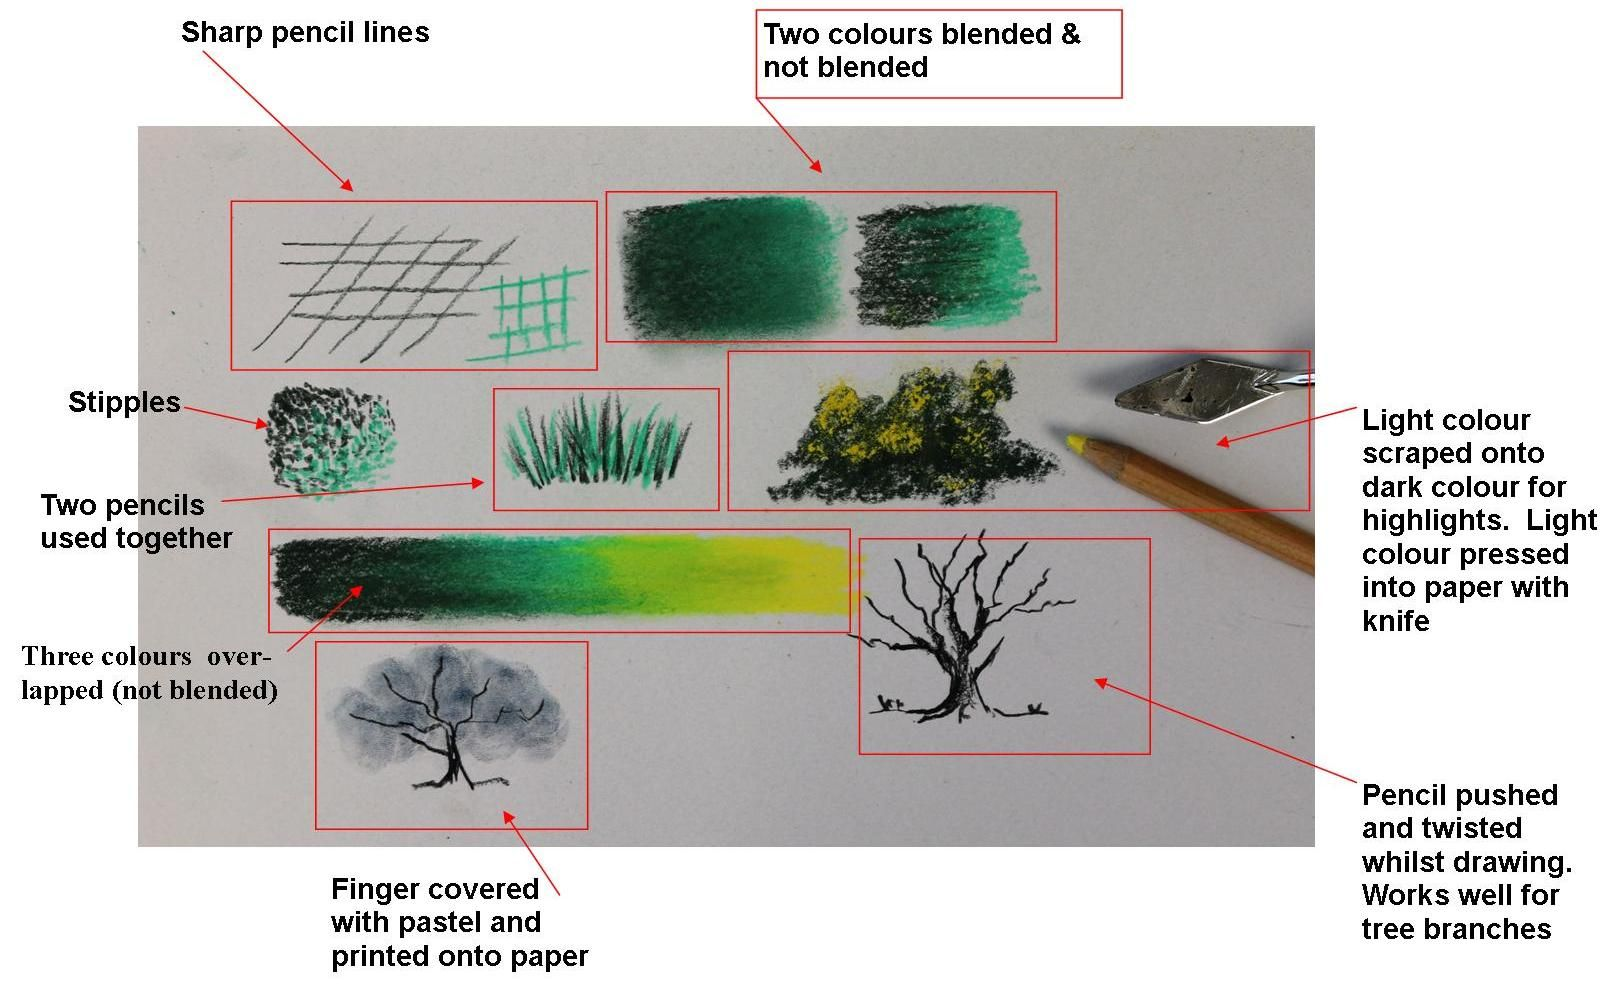
Obviously the sharper the point of the pastel pencil, the finer the painted detail will be. However, a blunt pencil has its uses. It's excellent for soft blurred edges and where you want to blend two adjacent colours together. Apart from using the point for lines or stipples, pencils can be used on their sides, holding the pencil almost horizontally to the paper to cover larger areas more quickly. A fairly long point is needed for this. Holding two or more pencils at the same time can give exiting effects. Pushing your pencil away from you whilst twisting it between finger and thumb gives wonderful little gnarled lines. Superb for depicting tree branches and twigs. Scraping off tiny bits of pastel with a palette knife, then pressing these bits into the paper can put eye catching little sparkly highlights onto your picture. You can see all these effects in the image on the left.
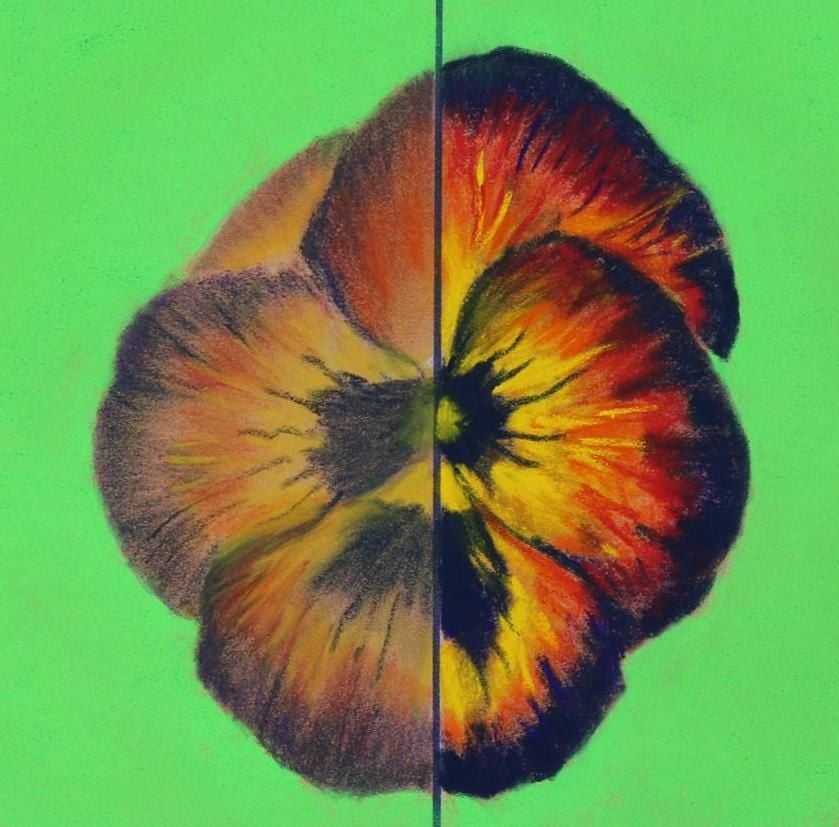
Having previously tested the performance of the pencils in various scenarios, we also need to know how lightfast (degree of fading) the colours are and how saturated (bright and vibrant) the pencils are. The degree of lightfastness may not seem important if you are only doing hobby work and don't intend for your pictures to be kept for any length of time. Lightfastness did not vary much between the brands, so that would not be a deal breaker for me. However, there were subtle differences in the look of the colour intensities. The differences were quite small, therefore I will show you the variation between the pencils with the most muted colours and those with the most vibrant. The painting on the right was done with two different brands of pencil. I used the same green pencil to outline the whole picture. I hope you can see the variation in the strength of colour. It is easy to dull down a too bright colour but more difficult to brighten up a dull one. Therefore the brighter, more saturated the colour of the pencil, the more versatile it is.
The right side of the painting was done with Stabillo Carbothello Pastel Pencils - my favourite.
Our final choices
Often we are restricted by budgets, so the choices can sometimes be made for us. However, we have discovered that the harder the pencil the easier it is to get a sharp point. Alternatively, the softer the pencil the easier it is to use over a foundation layer of another type of pastel. A combination of some hard and some soft would therefore seem appropriate.
Tins of pencils come in different numbered sets of approximately 36, 64, 120 etc. A set of 36 or so would do well to start with. Pencils can also be bought individually and in beautiful wooden boxes. However, you are paying a disproportionate amount of money for the box itself. Personally, I use far more semi-hard pastel pencils than soft ones. My choice has always been Carbothello or Faber Castell Pitt (very similar) and a few light highlighting colours and a few very dark colours from the wonderful Caran d'Ache range.
My choice should not be taken as a definitive recommendation, just the type of pencils that suit my particular style of work.
For recommended books on starting pastels, go to my book page
